Update:
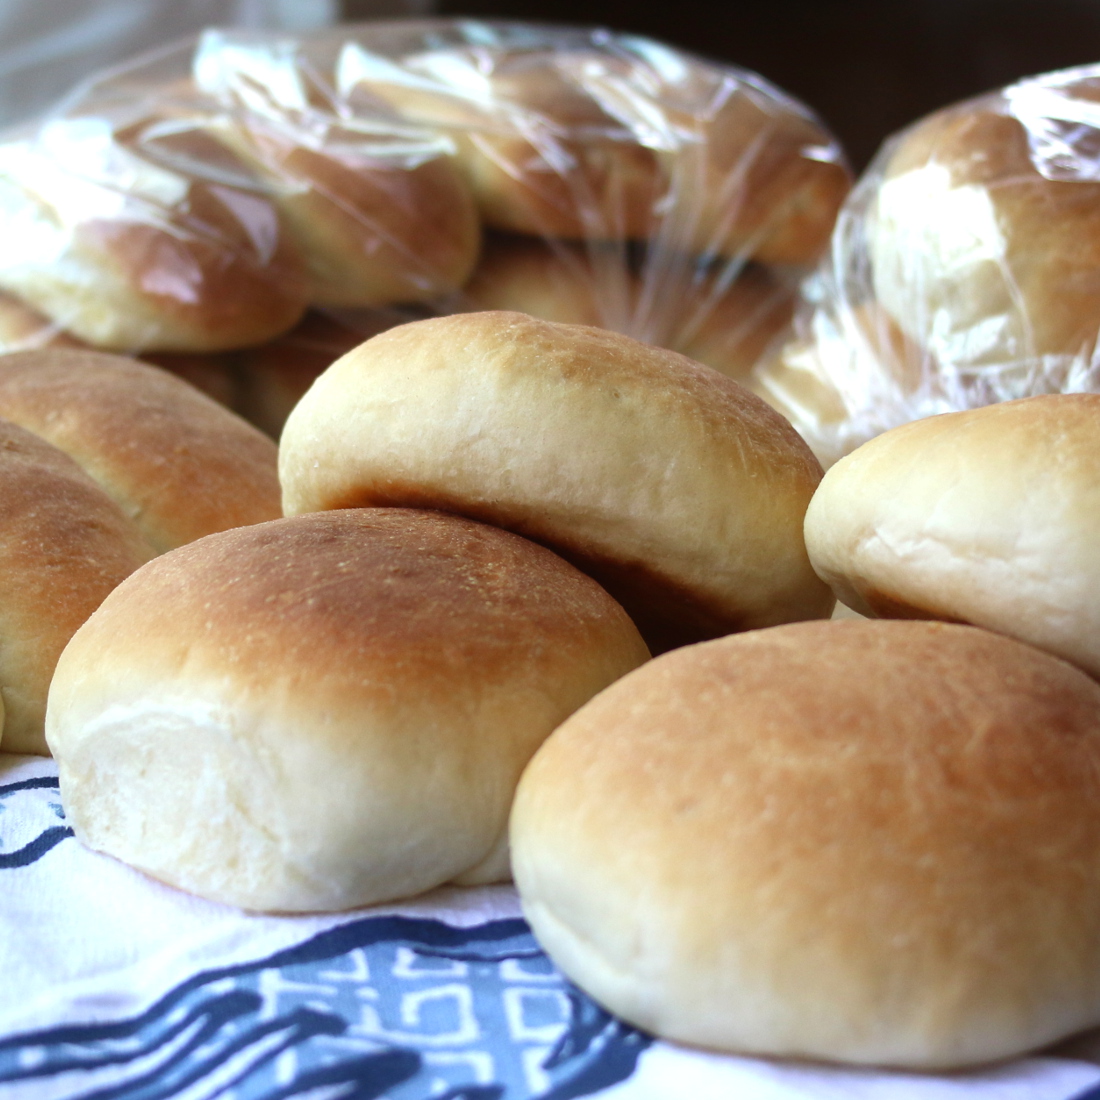
After several months of making this recipe there a couple of additions we want to add. Firstly, the more that you make this recipe, or any bread recipe for that matter, the better you get at forming the loaves and before you know it, they will look like bread from your favorite bakery. Another observation is that since the bread doesn’t stay fresh forever, you will find yourself eating it almost as quickly as you can make it. To combat the certain obesity that comes with devouring a couple loaves of delicious Italian bread over the course of a weekend, we have started making smaller loaves. Having a good kitchen scale really helps out with this; just weight the entire dough ball and then divide that by the number of loaves that you want to make. I weigh it in grams just to make the little easier and for our family of four breaking it down into five loaves is the sweet spot. Loaves are large enough to serve with a meal, but not so much that anything gets wasted. We ordered some bread bags for convenient freezing of the loaves.
After you have done this enough times, you’ll be doing the math in your head and the loaves with be within a gram or so of each other. This way all of them will cook at the same rate and solidify you as the semi-pro baker that you have become.
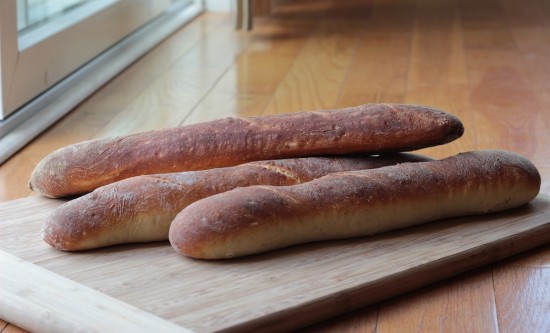
One other useful observation the second rise of the dough: the longer the second rise, the airier the bread will be. We had been following the recipe exactly and it yielded some awesome bread. On one occasion we set the loaves to rise and went out to run some errands. The errands took an hour longer than we had expected and we returned to them risen much more than we were used to. We baked the loaves because we were looking to make the bread again and figured how bad could it be? The results were fantastic. Now we adjust the second rise to fit the bread that we want. Sometimes you want a denser for a specific meal, other times you don’t. The picture at the top of the post is the lighter version, the lower picture is the denser one.
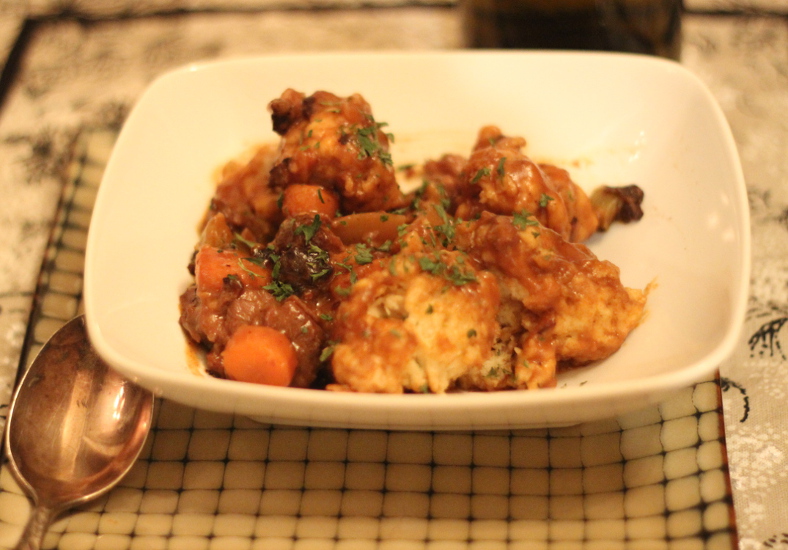
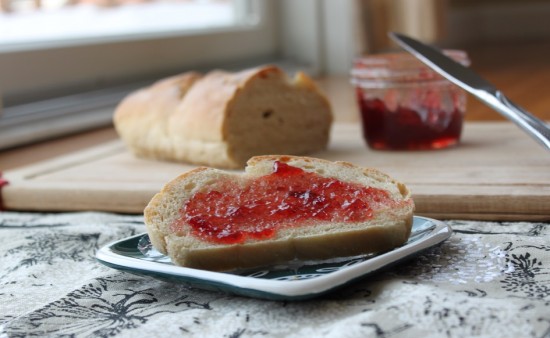
Lasagna was on the menu and time got away from me Sunday. How could I serve my family this Italian meal without a piping hot loaf of Italian bread to compliment it? I couldn’t! It took a little time, but I did find a recipe that wouldn’t delay dinner to terribly long.
Using my stand mixer, this recipe was a snap. Simply activate the yeast with some warm water and then begin adding the dry ingredients. There isn’t much to this recipe. After the fifth cup of flour went in, I added the last half cup a little at a time. I did need to add approximately two extra tablespoons of flour for the dough to take the proper shape. You’ll know that you’ve got it when the dough ball has pulled away from the sides of the bowl completely. When in doubt add the flour slowly!
I let the mixture knead using the dough hook on my mixer. The kitchen was a little cool so to accelerate the rising process, I positioned the mixing bowl on a wire rack above one of my stove burners that I had just used. The burner was off but still warm. This encouraged the dough to rise a little faster.
I’m not going to pretend I’m some sort of bread expert. The first loaf that I rolled out looked like someone had run it over with the car. The second loaf was beautiful. I threw the ugly one in some plastic wrap and stuffed in the freezer. The pretty loaf was done rising when the lasagna was done. I bumped up the oven temperature, popped that bad boy in and we feasted on hot, fresh Italian bread with a side of lasagna.
- 1 package (1/4 ounce) active dry yeast
- 2 cups warm water (110°)
- 1 teaspoon sugar
- 2 teaspoons salt
- 5-1/2 cups all-purpose flour
- In a large mixing bowl, dissolve yeast in warm water.
- Add the sugar, salt and 3 cups flour.
- Beat on medium speed for 3 minutes. Stir in remaining flour to form a soft dough.
- Using the dough hook attachment for the stand mixer, knead until smooth and elastic, about 6-8 minutes.
- Place in a greased bowl, turning once to grease the top. Cover and let rise in a warm place until doubled, about 1 hour.
- Punch dough down.
- Turn onto a floured surface; divide in half. Shape each portion into a loaf. Place each loaf seam side down on a greased baking sheet. Cover and let rise until doubled, about 30 minutes.
- With a sharp knife, make four shallow slashes across top of each loaf.
- Bake at 400° for 20-25 minutes or until golden brown. Remove from pans to wire racks to cool.